Making designs by un-aligning mica
Mike Buesseler taught me this one and I still love it. And him. Miss you, Mike!
 Start with an "ingot" as Mike and Pier Voulkos call it - sheets of polymer that have been rolled through the pasta machine many times to align the mica, then cut and stacked and trimmed. The shiny side will be on the top and bottom of the ingot while the sides will be darker and less shiny. |
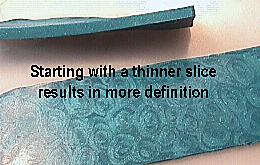
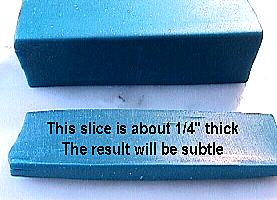 Cut a slice from the long, dull edge of the ingot. For a barrette, I'd suggest a thickness of about 1/4" - the final design will be more subtle than when you start with a thinner slice, but you need the extra thickness for a barrette or pin. For a veneer, you can start with a much thinner slice and the design will be more pronounced. |
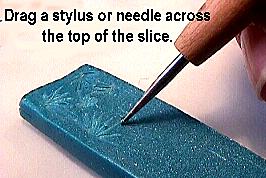 Use a ball stylus or toothpick or something to scribe designs in the clay. |
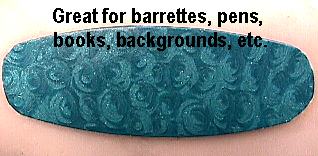
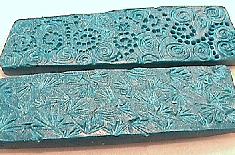 My favorite designs are spirals and fans that spread out in all different directions. |
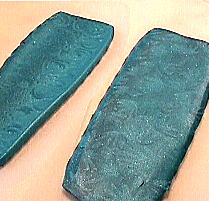 Brayer the design or roll it through the pasta machine on the thickest setting to smooth the surface. |
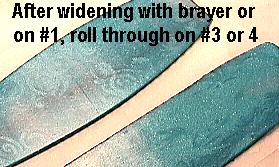 Turn the clay perpendicular and run it through on a thinner setting. Repeat until the surface is smooth. |
|
|
Main
© Elizabeth Campbell 1999 - 2004