Main
Bubble Bottles, Continued from Page 1
|
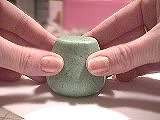
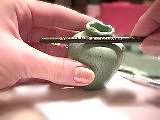
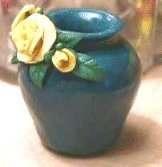
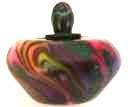
I've turned this one upside down, to flatten the top from it's dome shape. Hold the bottle against a plain background and look for symmetry, side to side. Put it upside down on the plain background, and see if it "lists" to one side, or if the bottom isn't centered on the body. It's not too late to change the shape until you've baked it. *g* Let the bottle sit for a while so that the handling during opening it won't be as likely to smoosh it or distort it.
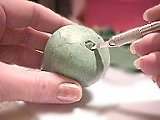
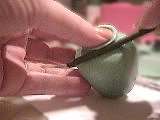
To open it, just use a sharp craft knife or even an awl and put a hole in the
center of the top. Use a tool handle to gently roll the opening against your
thumb, to make a
flared lip. Go slowly, rotating the bottle. When the bottle begins to feel warm
and soft, reshape it
if necessary and set it aside until it's cool, again.
|
|
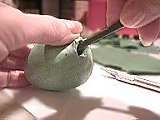
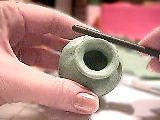
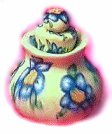
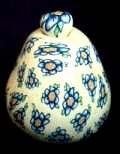
Just work slowly, a little bit at a time, turning the bottle, working inside the "lip" and outside. You may have to trim off a little clay here and there. You can "brayer" the surface, or smooth it with your fingers in a light, quick motion. The more fingerprints you eliminate now, the fewer you'll have to deal with, later.
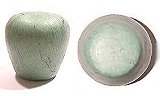
Don't forget to check the symmetry every now and then against a plain
background. This one
stills needs a lil work. *g*
|
|

|
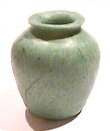
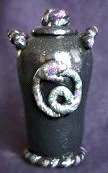
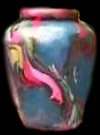
Got a little carried away while this
was baking... you don't notice the burned color too much, do you? ;-) I can see
that I should have paid
more attention to symmetry, here... can't correct these kind of flaws once
they're baked.
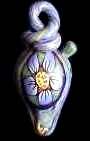
One of my favorites, Ouroboros, the world snake.
|

|
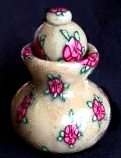
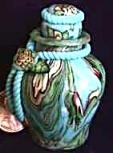
I still love this little bottle... it's made of a scrap bubble which was then
covered with leftovers from my
first batch of mudpile mokume. After it was finished and glazed, I added dots
of foiling glue and foil to
follow the curves in the MG designs, to echo the gold foil in the mokume gane.
|

Back to first page
Main